


Fancy getting into some DIY during isolation? We’ve got just the task for you.
Since you can’t leave your house apart from one daily exercise and buying essentials - and even though a mask may be an essential - the Bee Inspired team have created an easy to make DIY protective mask simply using a t-shirt.
Use the following steps on how to make your own protective mask from a t-shirt and materials you have at home. Get involved and get creative!
**We understand that these masks are not completely effective compared to surgical masks which are designed to prevent the spread of germs. Although these DIY cloth/homemade masks are less protective, it is known that when surgical masks are not available or accessible to you, these types of masks can still make a difference and are encouraged to be used along with other protective gear.**
What you'll need:
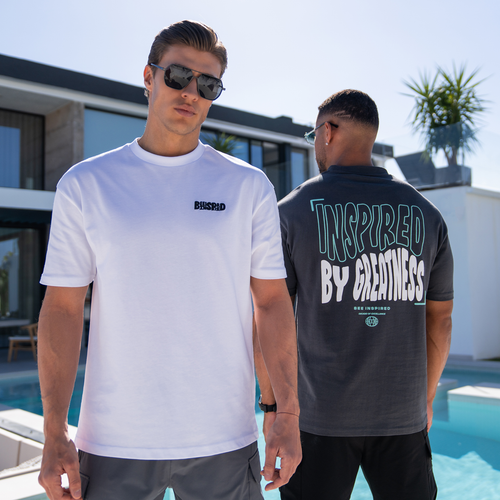
- Bee Inspired tee of your choice (preferably an older one)
- Scissors
- Needle and thread
- Safety pin
- Pen or chalk
- Tape measure or ruler

Step 1 - Measure and prep the pieces
Using the centre of the tee embroidery as your centre point, take your tape measure or ruler (whichever you have/prefer) and mark the width as 18cm and height as 13cm.


Now join up the points in a rectangle for your cutting guide and cut away!


We are also going to use the neckline/collar of the tee to make the bands for the mask.
Mark and cut just beyond the seam of the neckline to stop it from unravelling. This can be trimmed down once removed so don't worry if it looks messy.

Once you have cut off the collar, cut this down the middle so you have 2 equal semi-circles like below.

Step 2 - Assemble/make the nose bridge
Take the paperclip and straighten it out (keeping a slight peak).
Mark the centre of the top of the cut out mask and position the peak of the paperclip to the mark (approximately 0.5cm down below this.) Now fold over the fabric towards the inside of the mask.

Hand stitch around the paperclip to secure in place.

You can adjust the metal paperclip as required to form the contours of your nose to make the mask more comfortable and fitted.
Step 3 - Attach the ear bands
Position one of your collar halves on top of the inside of the mask, leaving an overlap of approx 2cm (it should look similar to a mug for reference!)

Before you stitch, we need to create a gusset to fit the curve of the nose chin.
This can be done by Accordion folding the fabric on top of itself.

Do this for the bottom half of the strap also.
Repeat for the other side of the mask.

And there we have it, you have made your own B33 DIY mask!
The Bee Team hope you enjoy this light hearted, fun task to cure your boredom.
Here are various styles we have made to give you some inspiration -

Tag us in your own DIY mask pics on Instagram, Facebook or Twitter!
Get Involved. Be Creative. Stay Inspired.
The Bee Team


Comments: 0